Preguntes Freqüents - FAQ
-
Project Provisioning Module Installation
Project Provisioning Module Installation
- Copy contents of "upload" folder (extracted inside main downloaded project_provisioning.zip archive) to WHMCS root folder. Future update will require you to overwrite files.
- WHMCS Admin -> Setup -> Addon Modules -> Project Provisioning -> Activate.
- Press "Configure" and Choose the admin role groups to permit access to the module page.

- Access module page via WHMCS Admin -> Addons -> Project Provisioning.
- Configure license under "general" tab.

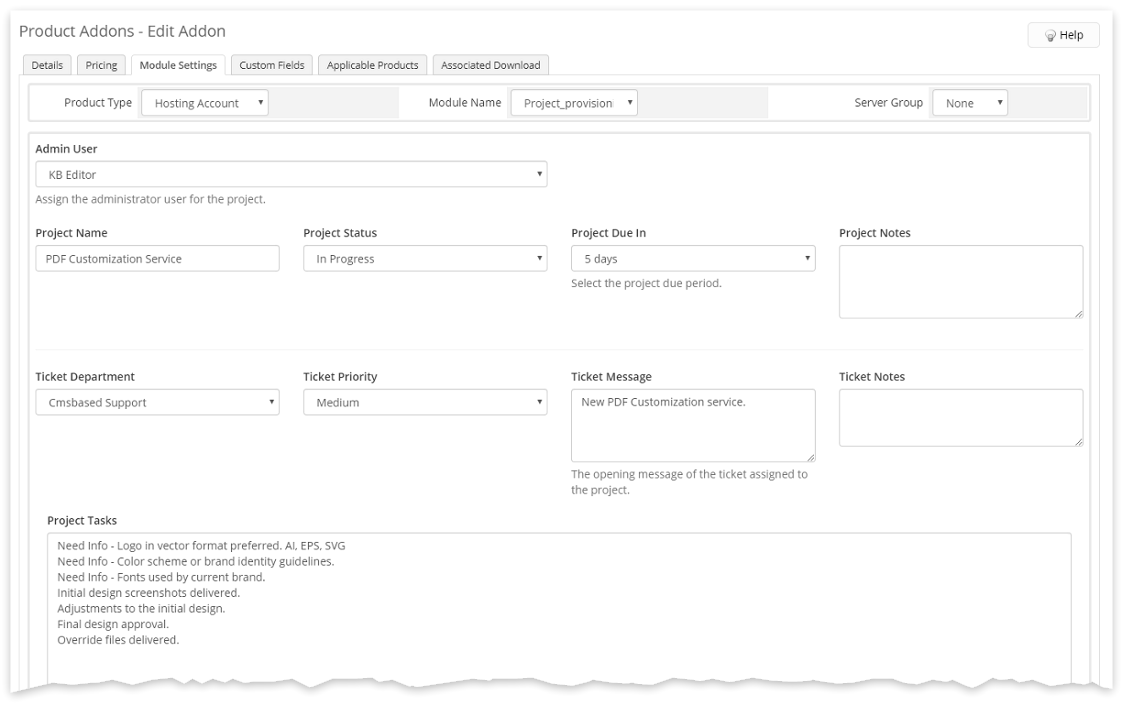
Visit Product Edit Screen or Product Addon Edit and use Module Settings tab. Under Module Name dropdown select Project_provisioning and configure project deployment options.